How to Do a Burst Fade Step by Step for Beginners
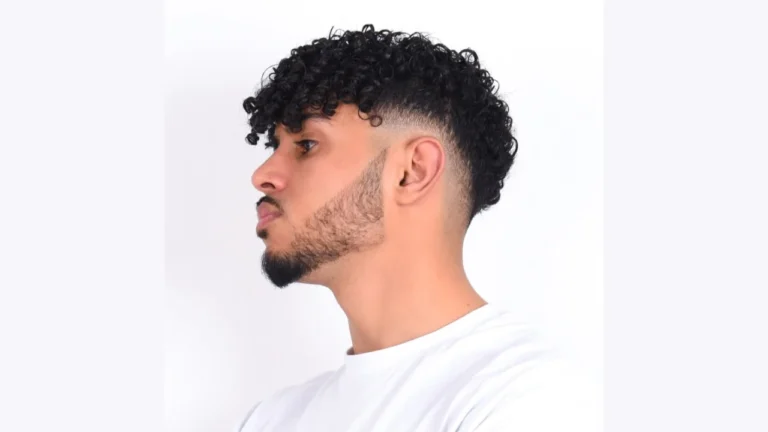
A burst fade is one of the most stylish haircuts for men today. It creates a smooth fade around the ear while keeping more hair in the back. This haircut works well with curly hair, straight hair, waves, and even mohawks. Many people want to learn how to do a burst fade because it looks clean, modern, and easy to customize.
Need To Know: Half Up Half Down Hairstyles Guide for Every Hair Type
In this guide, you will learn everything about how to do burst fad, including tools, steps, fading tips, and common mistakes to avoid.
What Is a Burst Fade?
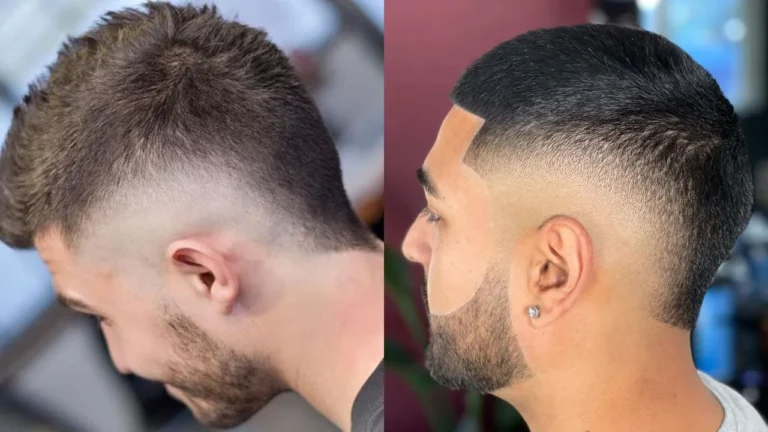
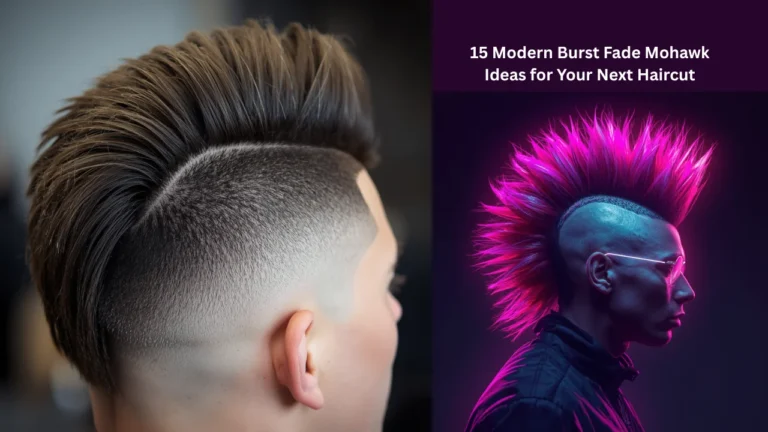
A burst fad is a haircut where the fad curves around the ear in a half-circle shape. Unlike a taper fad or drop fad, the burst fad focuses mainly around the ear area while leaving length at the neckline.
Barbers often pair this fade with:
- Mohawks
- Curly tops
- Mullets
- Textured crops
- Pompadours
The haircut creates a sharp and balanced look without removing too much hair from the back.
Tools You Need
| Tool | Purpose |
|---|---|
| Hair clippers | Main fading and trimming |
| Guard combs | Different fade lengths |
| Trimmer | Sharp outline and details |
| Barber comb | Hair control |
| Spray bottle | Keeps hair slightly wet |
| Hand mirror | Check the back evenly |
| Barber cape | Keeps clothes clean |
Choose the Right Style
| Burst Fade Style | Best For |
|---|---|
| Low burst fade | Clean and subtle look |
| Mid burst fade | Balanced modern style |
| High burst fade | Bold and sharp appearance |
| Burst fade mullet | Trendy longer back |
| Burst fade mohawk | Edgy hairstyle |
| Curly burst fade | Natural texture focus |
How to Do a Burst Fade Step by Step
Step 1: Start With Clean Hair
Wash the hair before cutting. Dry it lightly so you can see the natural growth pattern. Clean hair allows clippers to move smoothly and creates cleaner fade lines.
Comb the hair into its natural direction before starting.
Step 2: Set the Fade Line
The fade line is the most important part of the haircut.
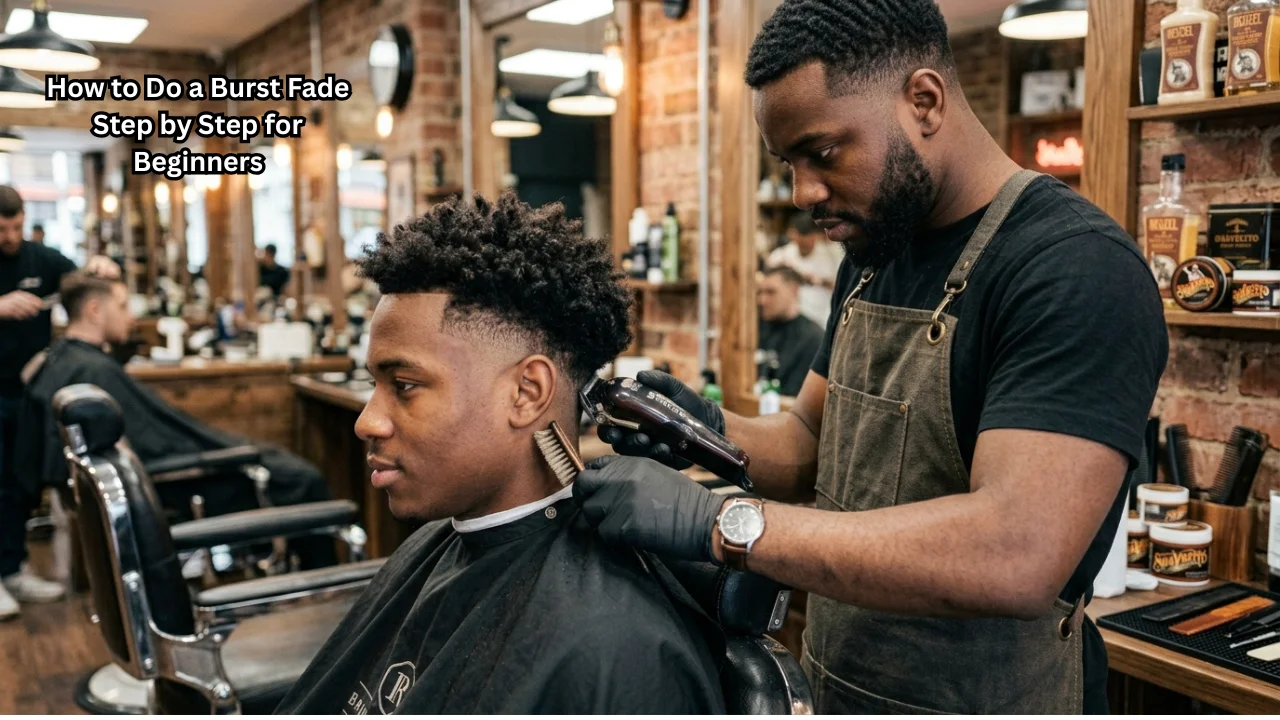
Use your trimmer to create a curved guideline around the ear. The shape should look like a half-moon or sunburst. Keep the line even on both sides.
Step 3: Use the Lowest Guard First
Now begin fading under the guideline.
Start with:
- No guard lever open
- Or a #0.5 guard
Work around the ear using a scooping motion. This helps blend the hair naturally without harsh lines.
Many beginners learning how to do burst fad make the mistake of pushing the clippers too high. Stay controlled and move slowly.
Step 4: Create the Second Guideline
Switch to a higher guard, usually #1 or #1.5.
Create another curved section above the first fade area. Follow the same burst shape around the ear.
Keep the blend soft and even.
Step 5: Blend the Fade
Blending is the key to a professional haircut.
Use clipper lever adjustments between guards to remove visible lines. Open and close the lever while flicking outward.
This technique creates a smooth transition between lengths.
If dark lines remain:
- Use corner blending
- Move slowly
- Check symmetry in the mirror
Step 6: Shape the Back and Top
The burst fad mainly focuses on the sides, but the top and back still matter.
For the top:
- Trim evenly
- Keep texture natural
- Use scissors if needed
For the back:
- Leave length for a mullet style
- Or taper slightly for a cleaner finish
The final shape should connect naturally with the fade.
Step 7: Line Up the Edges
Use a trimmer to clean:
- Sideburns
- Around the ears
- Neckline
- Front hairline
Sharp edges make the haircut look fresh and professional.
A clean lineup improves the overall burst fad style instantly.
Common Mistakes to Avoid
| Mistake | Why It Looks Bad |
|---|---|
| Taking fade too high | Loses burst shape |
| Uneven curve around ears | Makes haircut unbalanced |
| Hard fade lines | Looks unfinished |
| Using wrong guards | Creates patchy fade |
| Rushing blending | Removes smooth transition |
Patience always creates a cleaner haircut.
Best Hair Types
One reason burst fades stay popular is their flexibility.
Curly Hair
Curly hair adds volume and texture to the top while the fade keeps the sides neat.
Straight Hair
Straight hair creates a sharper and more visible fade transition.
Wavy Hair
Waves make the burst fad look modern and natural.
Thick Hair
Thick hair helps show stronger contrast between the fade and top.
How Long Does a Burst Fad Last?
A burst fad usually stays fresh for:
- 2 to 3 weeks for sharp looks
- 4 weeks for casual styles
Hair grows quickly around the ears, so regular touch-ups help maintain the clean burst effect.
Tips for Maintaining
After learning how to do a burst fad, proper maintenance keeps the haircut looking sharp.
Keep the Hair Moisturized
Dry hair looks rough and harder to style.
Brush Daily
Brushing helps train hair growth and keeps waves or curls neat.
Use Light Hair Products
Pomade, curl cream, or matte clay adds texture without making hair greasy.
Clean the Neckline
Small touch-ups between cuts help maintain the fresh barber look.
Burst Fade vs Taper Fade
Many people confuse burst fades with taper fades.
| Feature | Burst Fade | Taper Fade |
|---|---|---|
| Shape | Circular around ear | Straight gradual fade |
| Back Length | Usually longer | Cleaner neckline |
| Style | Bold and modern | Classic and subtle |
| Best Match | Mohawks and mullets | Professional styles |
Can Beginners Learn Burst Fades?
Yes. Beginners can learn how to do a burst fad with practice and patience.
Start slowly by:
- Practicing on mannequins
- Using lower guards first
- Studying head shape
- Watching fade symmetry carefully
Most beginner mistakes happen because of rushing.
Professional barbers improve through repetition and clipper control.
Why Burst Fades Stay Popular
Burst fades remain trendy because they:
- Work on many hair types
- Match modern hairstyles
- Look stylish yet clean
- Fit both teenagers and adults
- Add sharp detail around the ears
The haircut also gives room for creativity. You can combine it with designs, textured tops, curls, or mullets.
Need To Know: The Curl Bar Guide Easy Heatless Curls for Healthy Hair
Conclusion
Now you understand how to do a burst fade step by step. This haircut may look difficult at first, but proper sectioning, blending, and patience make the process easier. The key is creating a smooth curved fade around the ear while keeping the haircut balanced.
Whether you want a burst fade mullet, curly burst fade, or mohawk fad, the same basic fading technique applies. Start with clean guidelines, blend carefully, and avoid rushing through the haircut.